Welcome to my Fallout 76 Adhesive Guide. This guide will show you how to get as much of the sticky stuff as you need fast. I’ll show you the best ways and the best places to get adhesive.
Adhesive is one of the most critical resources in all of Fallout 76. You use it for so many things. It’s kind of ridiculous how often I find myself running out.
The best way to get a lot of adhesives quickly is to collect Digested Goo from Giant Pitcher Plants in the Cranberry Bog. Run the Green Thumb perk card to double the amount of goo. Each Digested Goo will yield four excess adhesives at a workbench. A typical run will net around one hundred adhesives.
Farming Monsters for Adhesive
One of my favorites ways to get adhesive is by taking it from creatures that have it. In the case of adhesive, there are only two creatures that you’re guaranteed to get excess adhesive from every time.
While not the most effective way to farm adhesive since each of these creatures will only drop one or two adhesives, it can be more fun than some of the other methods. In addition, you can server hop to repeat this process as many times as you want.
Anglers
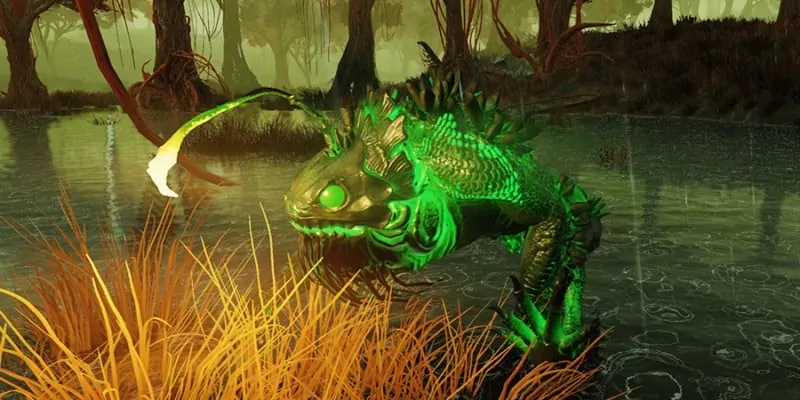

Anglers are amphibious creatures that tend to inhabit the Mire region of Appalachia. They expel a ball of mucous as a ranged attack and use their claws for close-range melee attacks.
They like to surprise their prey and attack from underwater. Anglers will use their bioluminescent tentacle to disguise themselves as Lure Weed while underwater and spring their trap when the unwary prey gets close.
There are a lot of places that are guaranteed to spawn Anglers, but only one that I’ve found that is guaranteed to have them every time.
Gnarled Shallows – Guaranteed Angler Spawn
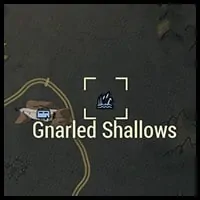
The Gnarled Shallows is in the far northeast corner of the map in the Mire region. Abbie’s Bunker is to the west, and there is nothing to the east, north, or south in this area.
Take the spawn point and turn to the east, and head towards the actual shallows. As you approach the shoreline, you should see a long blade of grass sticking out of the water with a bright light on the end. That light is an Angler playing hide and seek.
To surprise them, simply shoot below the waterline to engage and bring them out of hiding. There are three Anglers in this area. There’s one at the base of the large tree and one each to the north and south.
Honey Beasts

Honey Beasts are grotesquely large mutated honey bees. There are swarms of regular honey bees that live in hives on their backs. Honey Beasts can release swarms of these bees to protect themselves and distract opponents. This distraction enables the Honey Beast to get in close and use its powerful melee attacks.
Honey Beasts are also known to drop both adhesive and gold. Honestly, the amount they have is disappointing. I’ve never seen one drop more than two. Still, given the proximity of the guaranteed Angler and Honey Beast spawns, it’s not a terrible option if you hit them both.
Unmarked Cave Northeast of Freddy Fear’s – Guaranteed Honey Beast Spawn
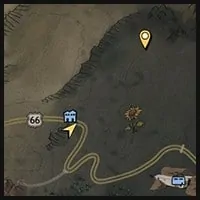
Freddy Fear’s is in the Mire region of the map in the far northeast corner. The Red Rocket Mega Stop is along the road to the west. Vault 94 is to the southwest.
When take the spawn point turn exactly northeast. Run for about two hundred meters making sure to sidestep any trees or obstacles. Keep your heading to the northeast. You will likely hear the buzzing of Honey Beasts and Bloat Flies before you see them, so keep your ears trained on the sounds around you.
When you finally reach the cave, you will find two Honey Beasts and eight Bloat Flies. They are cohabitating this area and have racked up quite a body count.
Looking at the map, you’ve probably noticed that the Gnarled Shallows is only a short distance to the southeast. As I said before, I would recommend hitting that spot too if you’re looking for adhesive.
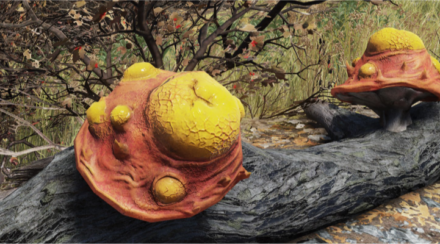
Harvest Giant Pitcher Plants for Digested Goo
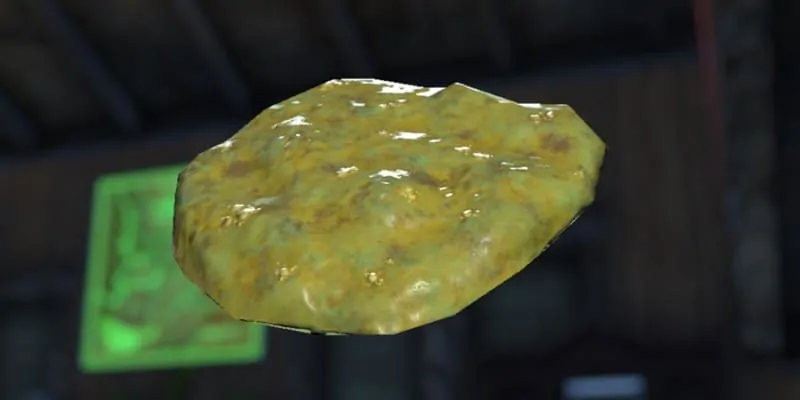
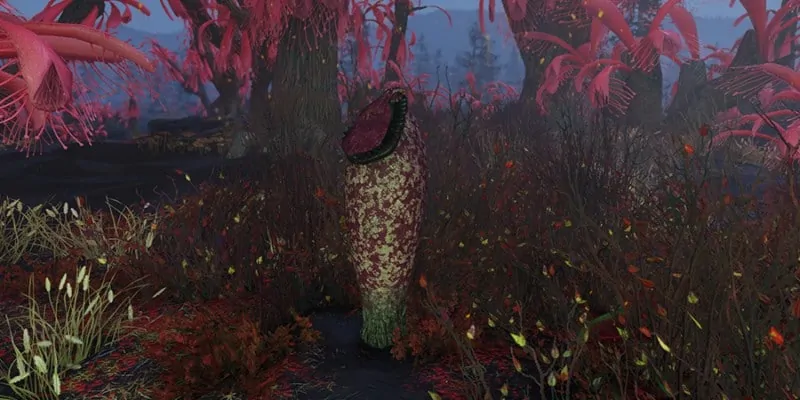
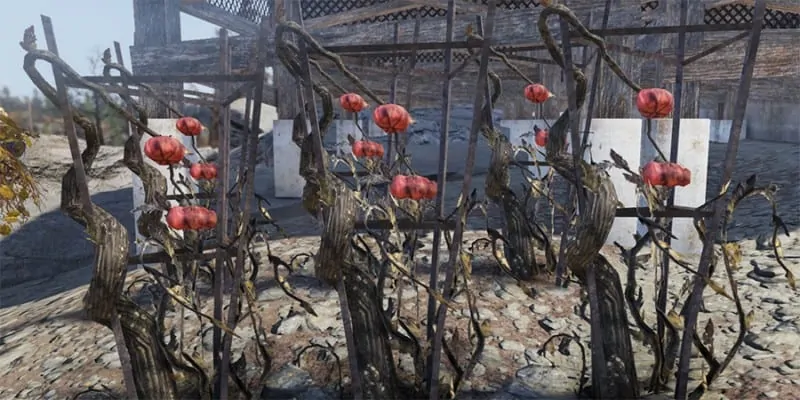
Giant Pitcher Plants are carnivorous plants that live in the Cranberry Bog region of the map. These plants are great for adhesive farming since the Digested Goo they contain scraps down into four excess adhesives at a workbench.
Each plant has one Digested Goo if you approach and loot them fast enough. If you run the Green Thumb perk card, you’ll get two instead of one. That’s an extra four adhesive from every plant.
All you have to do is run up to them and loot the goo. Notice that I said run — no lollygagging when you rob the plants of their precious goo. If you take too long, all you’ll get is a face full of acid.
It’s also a good idea to bring a gas mask or some other sort of protection from airborne disease. The plants and surrounding flora commonly spew toxic fumes into the air. So you will want a way to mitigate that.
Now that you know what to do, you need to know where to do it. I’ve got a couple of farming routes below that work well. The first is a safer route. The second is not safe at all, but if you can handle Scorch Beasts and their friends, then you’re in good shape.
Sparse Sundew Grove Farming Route
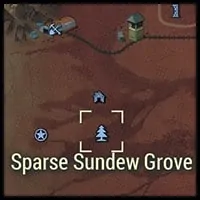
The Sparse Sundew Grove is absolutely the easiest of the two routes that I’m proposing here. Many times I find no monsters to fight at all, and each full run will yield ninety-six adhesives by the time you’ve completed it and scrapped all that goo. Below is the route that I take through the Sparse Sundew Grove.
- Take the spawn point and head north across the small channel. Walk up the little dirt ramp and turn directly to the east. A Giant Pitcher Plant will be straight ahead.
- Turn to directly south and cross back over that small channel to harvest the Pitcher plant that you saw when you took the spawn point. There will be a lot of trees in the way. Just make sure to keep a southern heading. It’s only about twenty meters.
- Turn directly southeast and run about forty meters straight ahead. You’ll pass another small channel. When you see a sharp pointy stump and fallen trees, you should see the next Giant Pitcher plant at the end of those fallen trees.
- Now turn north and a little bit east and run forward about fifty meters. You’ll keep the same heading entering the trenches. Climb out of the channel to the north and look directly east, you should see two Giant Pitcher plants. This spot is the best direction to approach them as you can see them both and have a direct line of sight to them.
- Turn directly north and straight ahead and close by are two more Giant Pitcher Planets. Be careful not to trigger them early. Note from the previous spot the second pitcher plant is hard to notice as it is behind the front one. It is probably best to strafe around until you can see the second one as well.
- Turning east, you should be able to make out your next target straight ahead. You should see an oil seep located just south of it.
- Turning to the north, you want to run straight for about fifty meters. This heading will run you right over the top of the next Giant Pitcher Plant.
- Now you turn just a hair south of due west. Moving forward about fifty meters back towards the grove. You have to be a little careful not to trigger it accidentally. The plant is sitting on the west side of a tree.
- Looking to the southwest, you should be able to see the next plant on this route directly ahead.
- For the last plant, take a heading of a little west of northwest. You’re going to run about eighty-five meters in total, keeping the water tower on your left at about the halfway point. It’s on the edge of some bushes and not easy to spot, so be careful of triggering it early.
Glassed Cavern Farming Route
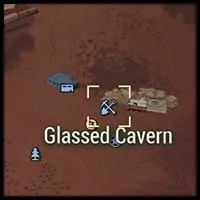
The Glassed Cavern route is the harder route to be sure. When you take the spawn point, there is nearly a one hundred percent chance that there will be many Scorch Beasts and other monsters nearby, but once you’ve cleared the monsters, this is a simple route to follow and remember.
One thing to note is that with a decent stealth build, you can efficiently run this route without having to fight anything.
- To start this route, take the Glassed Cavern spawn point and head to the northwest towards the white building. You should see a pitcher plant a short distance ahead to the left.
- Turn back around and head southeast into the Glass Cavern pit area, and you will find a grouping of three Giant Pitcher Plants. I recommend taking the two closest together from the side furthest away from the third. That way, you can get the two without triggering the third.
- Head to the south and circle around to the east, keeping the building on your left. Head straight up the train tracks until you see the barrels on the right. On the other side of the barrels are two more Pitcher Plants.
- Looking northeast past the end of the train tracks and rusted out mining cars, you can see two more Pitcher plants.
- Now turn to the east and climb out of the pit. You can do it without the Marsupial mutation. Once you get out of the hole, it’s only about fifteen meters to the east to reach your next plant.
- Turn towards the south. You should see Forward Station Delta in the distance. Head towards the left side. As you approach the station, you should see a pitcher plant ahead.
- Continue around the outside with the station on your right, and almost immediately, you’ll find another pitcher plant.
- Now look to your west between the military vehicle and the wall of the station, and you’ll see another plant directly ahead.
- You’ll want to head southwest. As you get closer to the small fissure on the right, you should see the pitcher plant straight ahead of you. In total, it’s about fifty meters from the last location.
- For the last plant, turn to the southwest and run about eighty-five meters. You’ll find the remains of a small house here. The last plant in this route is inside.
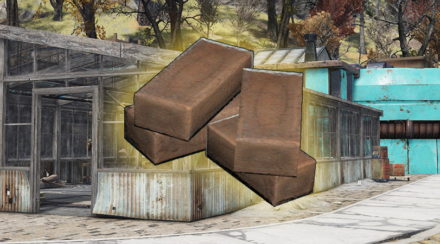
Scrap Items That Contain Adhesive
There are several items that you can collect in your travels that, when taken to a workbench can be scrapped down to adhesive. You will want to collect these items every time you see them while you’re wandering around Appalachia. This all by itself will go a long way towards ensuring that you always have adhesive when you need it.
Below is a table that lists the items in Fallout 76 that contain adhesive. You’re basically looking for tape and glue. These items can commonly be found it garages and really any work area. They are all relatively common.
| Name | Amount of Adhesive | Other Resources | Common Locations |
|---|---|---|---|
| Duct Tape | 1 | 1 Cloth | Garages and Work Areas |
| Economy Wonderglue | 5 | Homes, Garages, Work Areas | |
| Excess Adhesive | 1 | Homes, Garages, Work Areas | |
| Handmade Glue | 1 | 1 Glass | Homes, Garages, Work Areas |
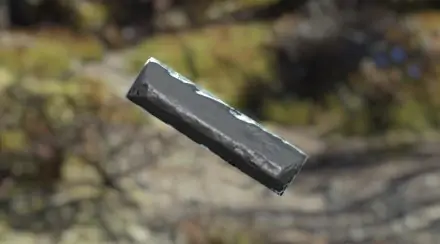
| Military Grade Duct Tape | 4 | 2 Ballistic Fiber | Military Facilities and Bases |
| Pack of Duct Tape | 4 | 2 Cloth | Homes, Garages, Work Areas |
| Sealed Wonderglue | 4 | Homes, Garages, Work Areas | |
| Vegetable Starch | 2 | Homes, Farms | |
| Wonderglue | 4 | Homes, Garages, Work Areas |
Build an Adhesive Farm in Your Camp
One often-overlooked method for gaining adhesive is the Adhesive Farm. It’s a really simple idea and is really easy to implement for characters of any level.
I’ve written a separate guide that gives you every detail that you could ever want to know about building an adhesive farm. Click the link to go there now.
I’ll cover the basics here.
Vegetable Starch is one of the basic recipes that you start the game with. It basically allows you to turn some common fruits and vegetables with some purified water into adhesive.
To create the recipe you’ll need the following:
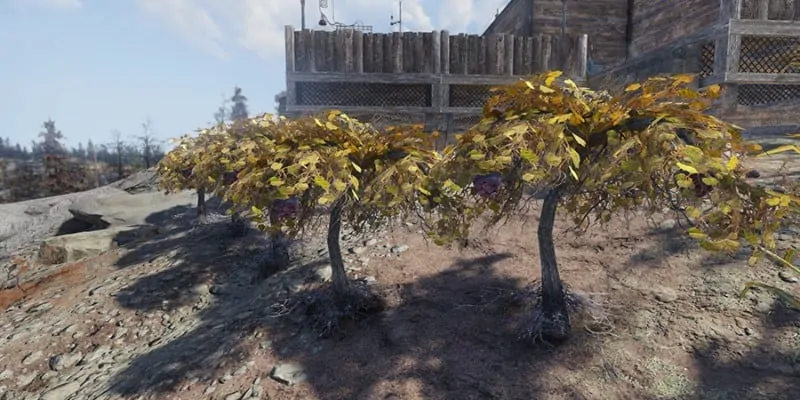
- 2 Mutfruit
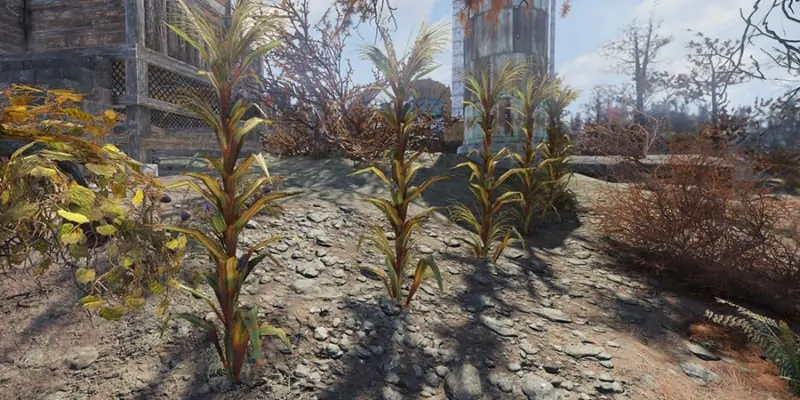
- 2 Corn
- 2 Tato
- 1 Purified Water
The basic idea is to plant the necessary plants at your camp along with a powered water purifier and you’ll have all you need to create vegetable starch.
Here are a couple more pro tips to make this even better.
- Run the Green Thumb perk card while harvesting
- This perk will double the number of plants you receive when harvesting.
- This will effectively double the amount of adhesive you can make.
- Run the Super Duper perk card while crafting the vegetable starch.
- A maxed-out Super Duper perk gives you a 30% chance of receiving double the results.
- Just swap it in when doing the crafting for an extra 30%.
- You don’t have to build a large farm for this to be effective.
- I usually build 6 of each plant with Green Thumb that’s 12 of each plant.
- I normally only run a single large water purifier in my camp. That’s more than enough to provide then purified water you need and then some.
- It generally takes 34 real-life minutes for crops to grow
- Don’t forget to check out my guide on how to Build and Adhesive Farm if you need details on where to get everything to get started.
Conclusion
That’s going to do it for this guide. I hope you learned something you didn’t know before. I know the Giant Pitcher Plant farming method seems weird at first, but once you get it down it really is the simplest way to get a lot of adhesive.
If you enjoyed this guide make sure to check out all my other Fallout 76 guides.